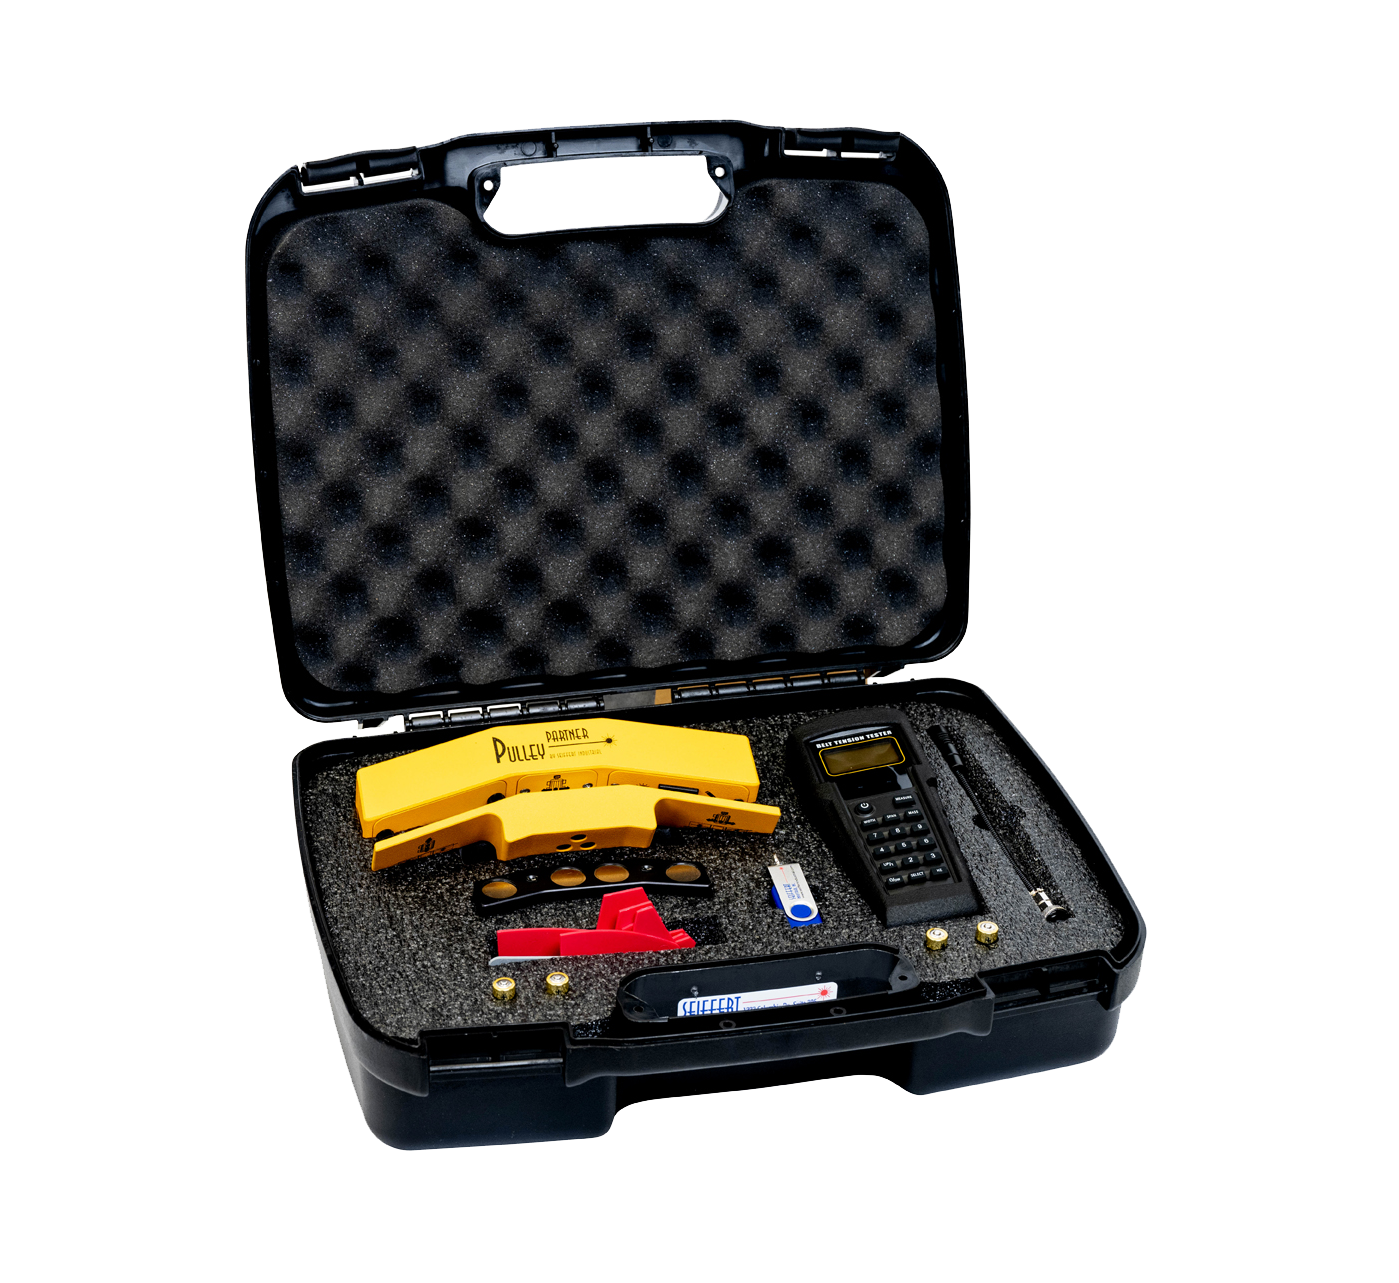
V-Belt Troubleshooting - Drive Belt Failure & Wear

Premature Drive V Belt Failure

Symptoms Probable Cause Corrective Action
Broken belt(s)
  1. Under-designed drive
  2. Belt rolled or pried onto sheave
  3. Object falling into drive
  4. Severe shock load
  1. Redesign the drive
  2. Use drive take-up when installing
  3. Provide adequate guards or drive protection methods
  4. Redesign the drive to accommodate shock load

Belts fail to carry a load

– No visible reason shown

  1. Under-designed drive
  2. There is a damaged tensile member
  3. There are worn sheave grooves present
  4. Center distance movement
  1.  Redesign the drive
  2. Follow the correct installation procedures
  3. Check for groove wear – Replace as needed
  4. Check the drive for center distance movement while running
Edge cord failure
  1. There is Pulley  misalignment
  2. Damaged tensile member
  1.  Check the pulley alignment and correct
  2. Follow the correct installation procedure
Belt De-lamination  OR undercord separation
  1. Too small sheaves
  2. Use of too small of a backside idler
  1.  Check Drive Design > Replace with larger sheaves
  2. Increase the backside idler to an acceptable diameter


Severe or Abnormal V-Belt Wear

 Symptoms  Probable Cause  Corrective Action
 Wear is found on the top surface of the belt
  1.  Rubbing against the drive guard
  2. Idler malfunction
  1. Repair or replace the dive belt guard
  2. Replace the faulty idler
 There is wear on the top corners of the belt
  1.  Belt-to-sheave fit is incorrect – belt too small for the groove
  1. Use the correct belt to sheave combination
 Wear was found on the belt sidewalls
  1. Belt Slip
  2. Misalignment
  3. Worn sheaves
  4. incorrect Belt
  1. Retention until the slipping stops
  2. Realign the sheaves
  3. Replace the sheaves
  4. Replace with the correct belt size
There is wear on the bottom corner of the belt
  1.  Belt to sheave combination fit is incorrect
  2. Worn sheaves
  1. Use the correct belt-to-sheave combination for the drive
  2. Replace sheaves
 There is wear on the bottom surface of the belt
  1. Belt bottoming out on the sheave groove
  2. Worn sheaves
  3. debris in the sheaves
  1.  Use the correct belt to sheave match for your system
  2. Replace the sheaves
  3. Clean the sheaves
Undercord Cracking can be detected
  1.  The sheave is diameter too small
  2. Belt Slip
  3. Backside idler too small
  4. Improper storage of the belts
  1.  Use larger diameter sheaves
  2. Re-tension the belt and system
  3. Use a larger diameter backside idler
  4. Do not coil the belt too tightly, kink or bend – Avoid heat and direct sunlight
 Under-cord or sidewall burn or hardening
  1.  Belt slipping
  2. Worn sheaves
  3. Under-designed Drive
  4. Shaft movement
  1. Re-tension until the slipping stops
  2. Replace sheaves
  3. Redesign the drive to accomplish task
  4. Check for center distance changes
 Belt surface hard or still
  1. Hot drive environment
  1.  Improve ventilation to the drive belt
 Belt surface flaking, sticky or swollen
  1.  Oil or chemical contamination
  1.  Do not use belt dressing -Eliminate sources of oil, grease, or chemical contamination


V Belts Turn Over or Come Off Drive

Symptoms Probable Cause Corrective Action
Involving Single or Multiple  drive belts
  1. Shock loading or vibration
  2. Foreign material in grooves
  3. Misaligned sheaves
  4. Worn sheave grooves
  5. Damaged tensile member
  6. Incorrectly placed flat idler
  7. Mismatched belt sets
  8. poor drive design
  1. Check the drive design and be sure you are using a high quality belt
  2. Shield the grooves and drive from falling materials
  3. Realign the sheaves
  4. Replace the sheaves
  5. Use the correct belt installation and storage procedures
  6. Carefully align the flat idler on the slack side of the drive as close as possible to the driver sheaves
  7. Replace with a new set of matched belts – DO NOT mix and match old and new belts
  8. Check for center distance stability and vibration dampening


Belt Stretches Beyond Available Take-Up

Symptoms Probable Cause Corrective Action
Multiple belts stretch unequally
  1. Misaligned belt drive
  2. Debris in the sheaves
  3. Broken tensile member or cord damaged
  4. Mismatched belt set
  1. Realign and re-tension drive
  2. Clean the sheave
  3. Replace all the belts and make sure they are installed properly
  4. Install a matched set of new belts
Single belt or where all belts stretch evenly
  1. Insufficient take-up allowance
  2. Grossly overloaded or under-designed drive
  3. Broken tensile members
  1. Check the Take Up  >  use the allowances in the manual
  2. Redesign the drive
  3. Replace the belt / belts with new


Drive Belt Noise

Symptoms Probable Cause Corrective Action
Belt squeals  or chirps
  1. Belt slip
  2. Contamination
  1. Re-tension
  2. Clean belts and sheaves
Slapping sound
  1. Loose belts
  2. Mismatched belt set
  3. Misalignment
  1. Re-tension
  2. Install a new matched set of belts
  3. Realign belts so all belts are sharing the load equally
Rubbing sounds
  1. Guard interference
  1. Repair, replace or redesign the belt guard
Grinding sounds
  1. Damaged bearings
  1. Replace > Align > Lubricate Bearings
Unusually loud drive
  1. Incorrect belt
  2. Incorrect tension
  3. Worn sheaves
  4. Debris in sheaves
  1. Use correct belt cross section in pulley – Use correct tooth profile and pitch in sprocket
  2. Check tension and adjust
  3. Replace sheaves
  4. Clean sheaves > Improve Shielding > Remove dust, paint, dirt and debris from the grooves


Unusual Vibration in the Drive Belt

Symptoms Probable Cause Corrective Action
Belts Flopping
  1. Loose belts (under tensioned)
  2. Mismatched Belts
  3. Pulley Misalignment
  1. Re-tension
  2. Install a new matched set of belts
  3. Align the pulleys
Unusual or Excessive Vibration
  1. Incorrect Belt
  2. Poor machine or equipment design / setup
  3. Pulley out of round
  4. Loose drive components
  1. Use correct belt cross section in the pulley > Use correct tooth profile and pitch in the sprocket
  2. Check structure and brackets for adequate strength of the machinery
  3. Replace with non-defective pulley
  4. Check machine components and guards, motor mounts, motor pads, bushings brackets and framework for stability, adequate design strength, proper installation and proper maintenance.


Problems with Sheaves

Symptoms Probable Cause Corrective Action
Broken or Damaged Sheave
  1. Incorrect sheave installation
  2. Foreign objects falling into the drive
  3. Excessive Rim Speeds
  4. Incorrect belt installation
  1. Do not tighten the bushing bolts beyond the recommended torque values
  2. Use an adequate drive guard
  3. Keep the pulley rim speeds below the maximum recommended values
  4. Do no Pry belts onto pulleys
Severe Groove Wear
  1. Excessive Belt Tension
  2. Sand, debris or contamination occurred
  3. Wrong Belt
  1. Re-tension and check drive design
  2. Clean & Shield the drive  as well as possible
  3. Make sure that the belt and sheave combination is correct


Problems with other Drive Components

Symptoms Probable Cause Corrective Action
Bent or Broken drive shaft
  1. Extreme belt over tension
  2. Overdesign of the drive
  3. Accidental Damage
  4. Machine design error
  5. Accidental damage to guard or a poor guard design implemented
  6. Pulley mounted too far away from the outboard bearing
  1. Re-tension
  2. Check drive design > May need to use smaller or fewer belts
  3. Redesign the drive guards
  4. Check the machine design
  5. Repair or redesign for durability
  6. Move the pulley closer to the bearing


Hot Bearings